
Tutorial 5: Bring Our Heroes Back to Full Health
- Jul 17, 2018
- 3 min read
Power Up and Collectible: Lesson Five
Time for Lesson 5! This time we will make an Asset to Heal (Or Other Abilities) our Heroes!
Lets get started.
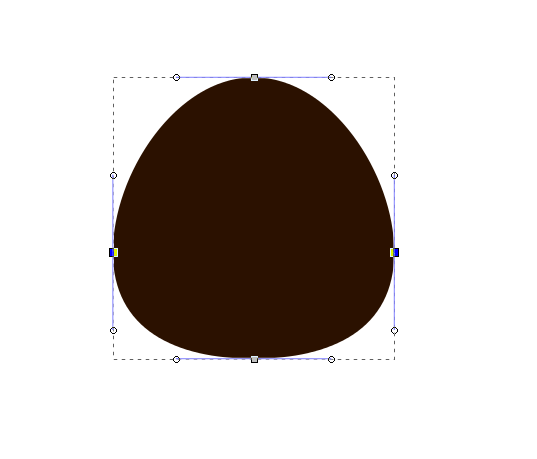
Step 1: To start with we will use the Circle Tool again to make a Perfect Circle (Remember to Hold Ctrl when dragging out your circle). We will then convert it to a Path to make a Custom Shape, So Hit CTRL + SHIFT + C

Step 2: In this Step select the 2 Side Nodes (Highlighted in the Picture) And Drag them down a bit to make the shape below. Also Pull out the Top Node a bit on each side (With the Handles when the Top Node is Selected) to make it a bit thicker at the Top
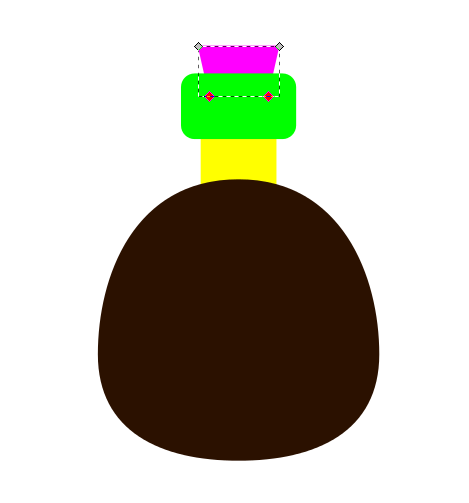
Step 3: With this Step Create a Rectangle with the Square tool like the Below Picture, Then Place it behind the Bottle Shape by Pressing Page Down.

Step 4: Now create another Square, and Round it off a bit to make the Below Shape on the Top of the Bottom. Select it with the Black Arrow Tool, Since it is not a Custom Path, You can drag the Corner Node down a bit to round the Square into the Below shape.

Step 5: Create yet another Square for the Cork, Convert it to a Path as before (Ctrl + SHIFT + C) and Select the 2 Bottom Nodes of the Rectangle/Square (Shift + Left Click both of the Nodes) then Press the < key to equally bring the Nodes in as the shape below.
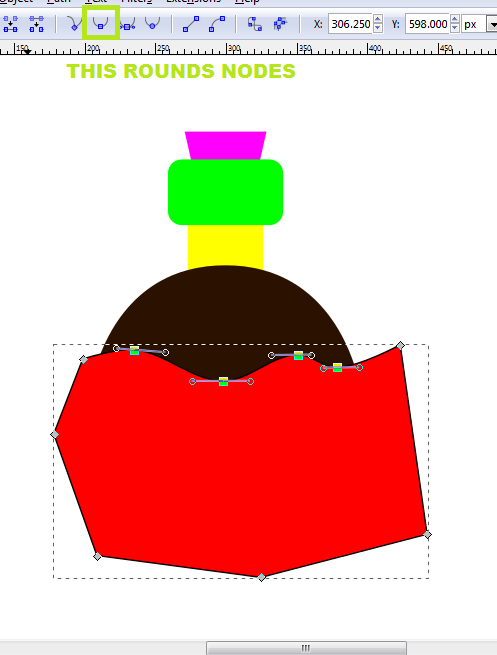
Step 6: Create a shape with the Free Draw Tool (The Blue Fine Tip Pen down the Left hand Side), As before Lessons and Create a shape like the Below Shape. Select the Nodes again with Shift + Left Click and then round them with the Round Node Tool (Highlighted in the Below Picture). Your Shape should look like below, Don't worry about going over the Bottle Shape as we will sort that out in the next step
Step 7: To get the Liquid Shape inside the Bottle, We want to duplicate the Bottle Shape (Ctrl + D) and then Select Both the Liquid and the New Bottle Shape, and Select Path up in the Top tool bar and then Intersection as the Below Picture Describes.

Step 8: Now we will add the Colour to the Asset, So choose your colours as below

Step 9: Next Add some Different Sized Circles into the Liquid with the Circle Tool, And place in Random Places like below

Step 10: For the Outline Select all of the Asset and Duplicate it (CTRL + D) then Select Path up the Top again, And instead of Intersection, Select Union. Then add a Thick outline to it with the Colour Wheel as in previous Lessons.
Step 11: Next add the Highlights by Adding White Ovals with the Circle tool, And add a smaller Outline to the rest of the Asset. To do this you will need to Select the Neck of the Bottle and The Bottle itself and Union them together like in the Previous Step.
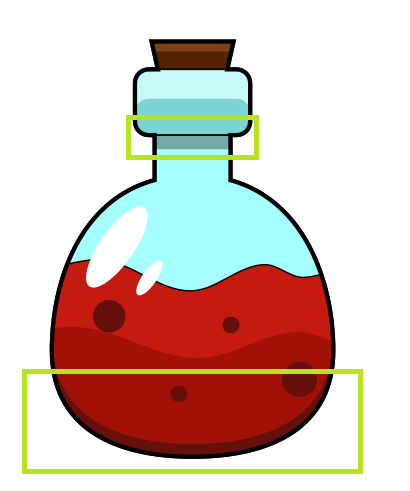
Step 12: To Create another Shade of Liquid, Just Duplicate the Liquid Shape, Move it down a bit.
Then scale it outwards a bit and Create a Intersection like before (Remember to Duplicate the Liquid again to cut the shape).

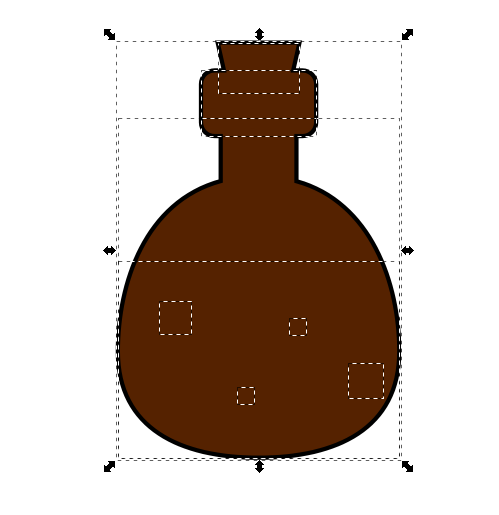
Step 13: Now Create Highlights on the Below Parts of the Bottle, By Intersections again (And again Remember to Duplicate the Original Shape to make the Cuts)
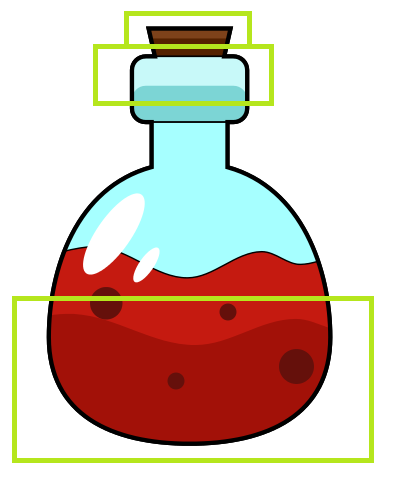
Step 14: Now add the shadows, By again doing the Last Step, Except this time make the Shades Darker with the Colour Wheel Tool (CTRL + SHIFT + F). Remember to move Highlights and Shadows behind the Outline by Hitting Page Down until its behind the Thick Outline.
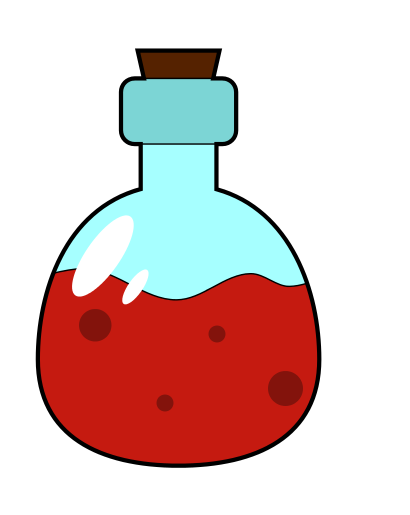
Step 15: Now the Asset is complete you can Duplicate it, And Recolour it any Colour it any Colour you like! Great Job, Another Game Asset is ready for your Projects.

And there you have it!
You have now created your anotherCollectible or Power Up for your Game!
Great work and look at tackling some more of these!
You can Donate $0.99 to also get the SVG for this Lesson,
To study how I have done it.
Thanks for doing this Lesson
Daniel
WRGFX


Comments