
Tutorial 3: Keeping the Soldiers Stocked Up with a Ammo Box
- Jun 18, 2018
- 3 min read
Power Up and Collectible: Lesson Three
In this Tutorial we are going to be using squares and deforming them,
for a more depth for our Ammo Box.
Things you will learn this lesson:
Moving Nodes in Even Fashion
Font Tool
Step 1: To start this tutorial we start with a basic Rectangle (Using the Square tool, Down the Left side of the Tool Bar) It can be any colour at this point

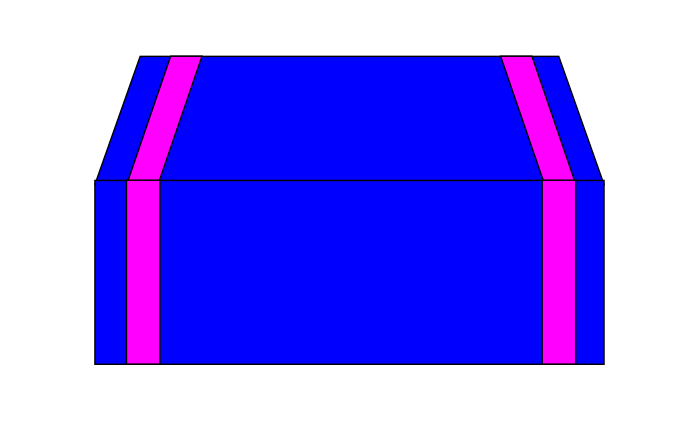
Step 2: For Step 2 we will duplicate the square and drag it up a bit. Then convert the object to a path (Ctrl + Shift + C) to make it so we can move the nodes into custom positions. Select the 2 Top nodes (Shift Left Click the Top 2 Nodes) and press the < Key to bring both of the nodes in,
In an even fashion.
Try to create the shape in the picture below.

Step 3: For Step 3 we will create more Rectangles with the Square Tool (The same as step 1) and then convert them to Path (Ctrl + Shift + C) and move the top nodes slightly to the right as in the picture below. Then Create a Duplicate (Ctrl + D) and flip it Horizontally (H Key) and place it on the other side of the top box. Hold CTRL while you drag it across to keep it on the same axis as the previous Rectangle.

Step 4: Step 4 we just create more Rectangles and Place them on the front of the Box like the Picture Below. Remember to duplicate and Drag across the second one, While Holding CTRL.
Step 5: Step 5 we will be using the Line Tool (Located down the left hand tool box, The One under the Pencil Tool). Click on the left side of the box and hold CTRL while drawing a straight line across the front of the box like below. Then duplicate these a couple of times and Move them into position as the picture below. Then move these lines to the back by selecting one at a time, And hitting Page Down until they are behind the Straps on the front of the box.

Step 6: Yet again more rectangles, So create another one, And make a latch for the front of the box and place them in the position in the picture below.

Step 7: Next is the font tool, (Down the left Tool Box select the big A icon, Left Click somewhere and Right AMMO). If you go back to the selection tool you can move the AMMO font to the correct position. Also with the Font tool you can change the Size and Font in the Top Left Tool bar, Mine is Impact font)

Step 8: So with the font changed, Now Create a Duplicate of the Top of the Box.
You can then scale that to size with the arrows in the side of it when selected. Scale it to the size of the picture and place behind the Straps on the top of the box (Page DOWN).

Step 9: Again Create a Duplicate of this new shape,
and scale it again to make a bit of depth to the Lid of the Box.
Again Place it behind the Straps (Page DOWN)

Step 10: Now to add colour! Change the Colours to anything you like (Or you can copy the Picture below).
Also add a couple of stars (Like in Lesson One) by using the Star tool and Place accordingly. This is your Ammo Box done.

And there we have created an Asset with Basic Squares and other Tools,
Now you can keep your Soldiers stocked up!
Great work and be sure to check out the other Tutorials for more Tips!
You can donate $0.99 to also get the SVG for this lesson,
To study how I have created this asset
Thanks for your time in this Lesson
Daniel
WRGFX


Comments